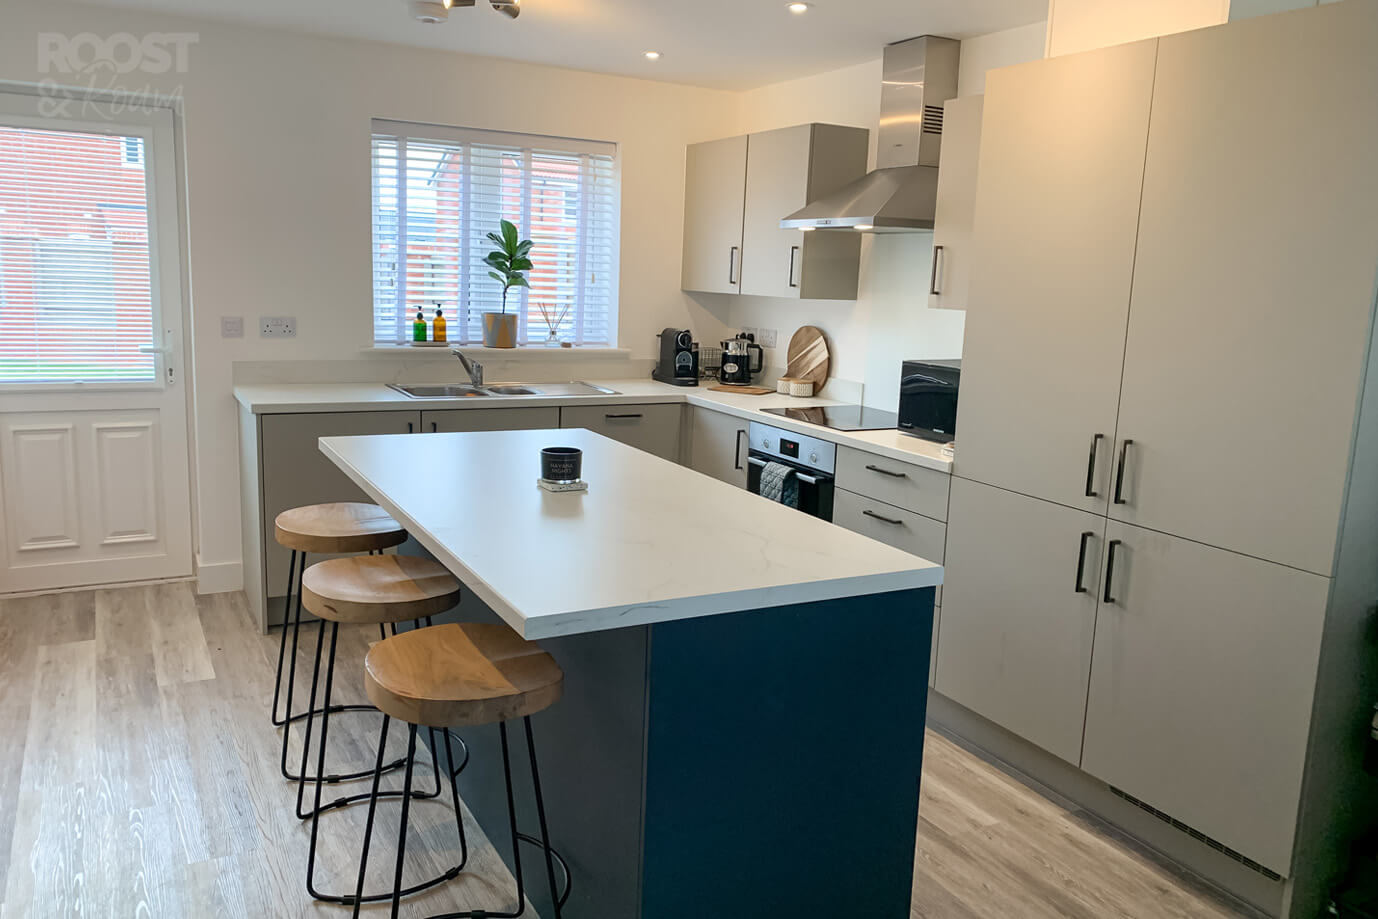
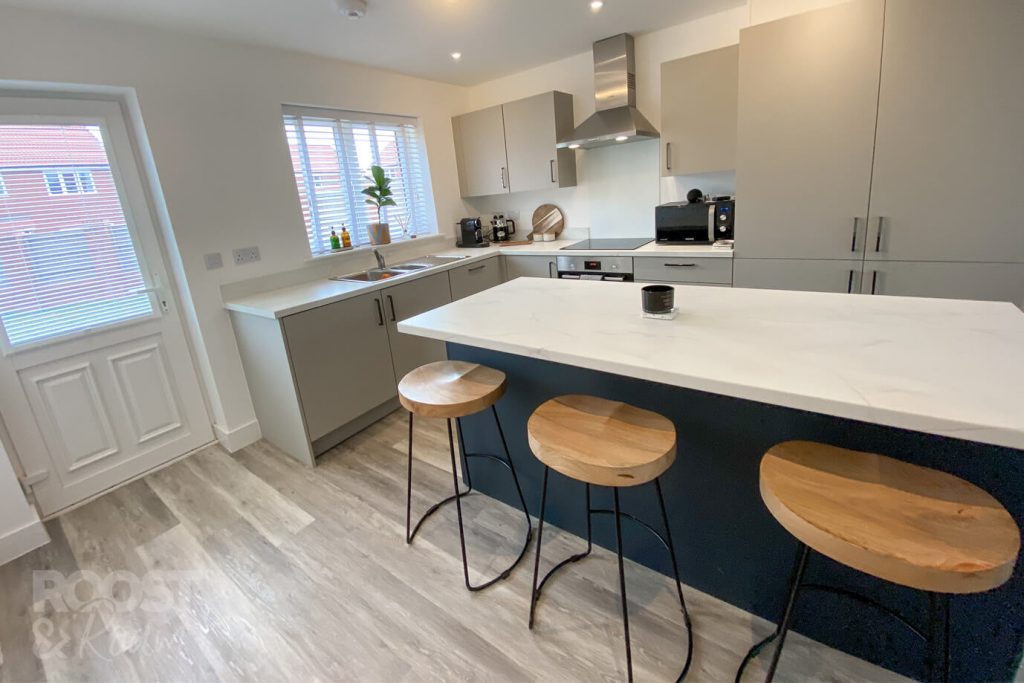
When we reserved our new build house last October. We knew straight away that we wanted to add an island to our kitchen for a couple reasons. One, because in typical new-build fashion; there was going to be very little counter top space, along with a complete lack of storage – very impractical. And two, because, well; we just really wanted one! We loved the thought of having 2-3 bar stools along the side, providing extra seating and a casual space to natter with friends and family.
We asked the sales lady if this was something we could sort through them whilst selecting our kitchen choices. Unfortunately, we were told, due to building regulations our kitchen wasn’t big enough to accommodate an island.
In this article...
Kitchen Dimensions
Our kitchen-diner dimensions are roughly 3.5m wide, by 6m long. With an L shape kitchen fitted along the walls; we knew our kitchen was going to be plenty big enough to hold an island. Without one, we would’ve had a big area going to waste, as we didn’t plan to put the table there. So, whilst the house was being built. We gave our measurements to our local Bradfords, as they stock Symphony kitchens (what the developer was installing). They then produced a few different design renders, prior to us attending a meeting at the showroom.
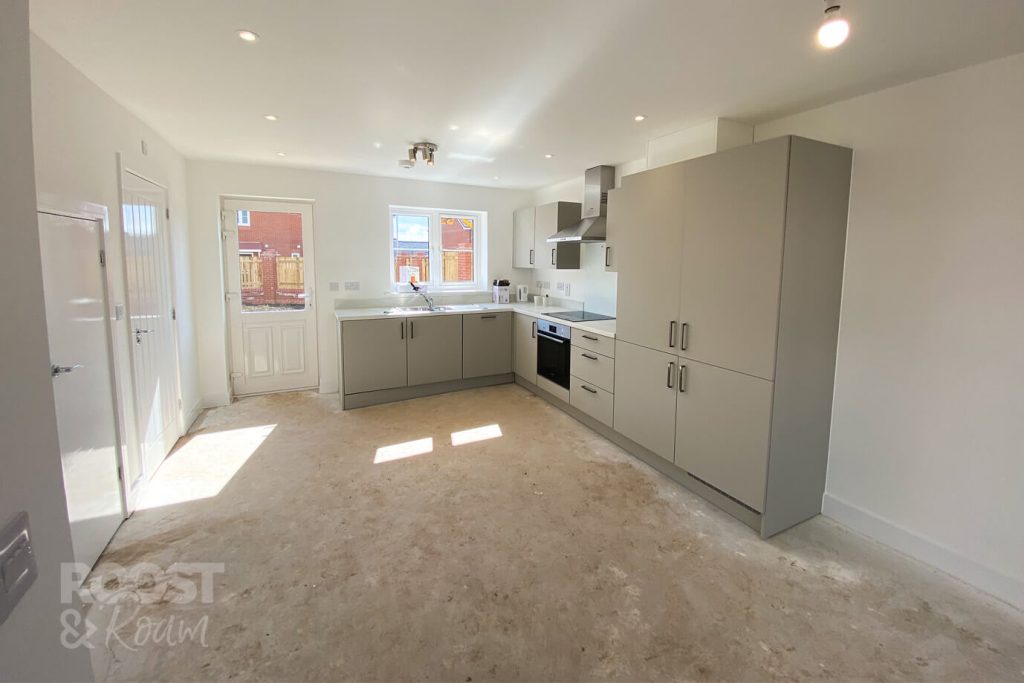
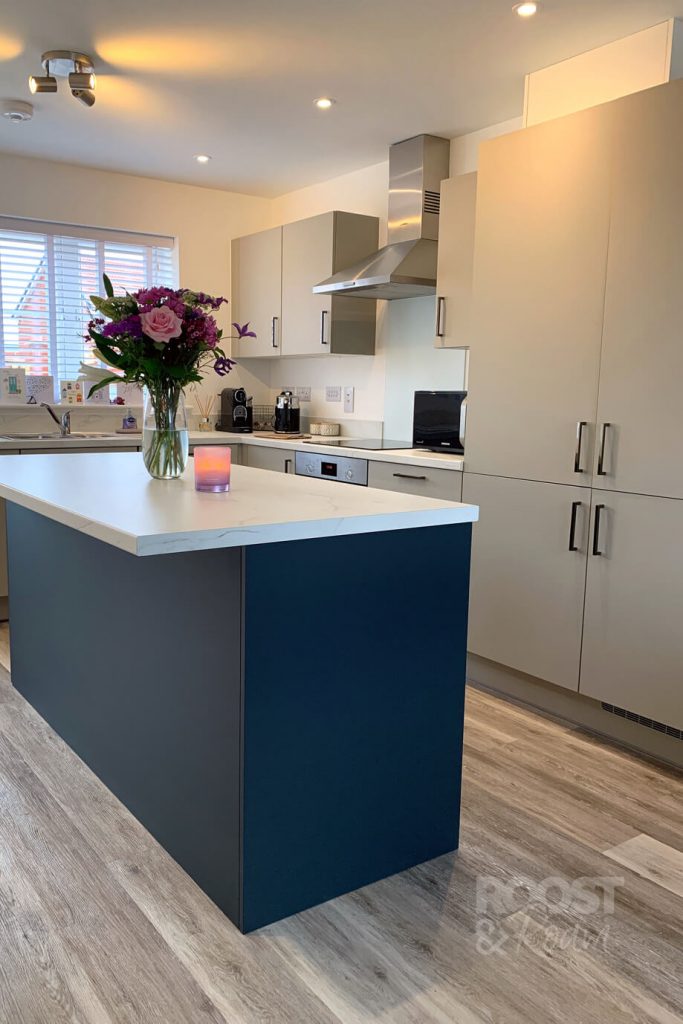
We informed Bradfords that we wanted the island to be in the shade ‘Indigo’. Simply because wanted it to contrast from our wall and base units being the shade ‘pebble’. Our kitchen would then have warm grey on the wall and base units; the island would be a deep, dark blue; both matt, and both topped with a subtle marble effect white worktop.
Designing the right island for us
To begin with, we thought about having a built-in microwave on the island. But this would have meant getting power over to it. Previously, whenever we asked our developer for extras like this, 99% of the time, we were told it couldn’t be done due to building regs! Which meant we would have had to dig the concrete floor up once in. We decided as this isn’t our forever home; it really wasn’t worth the extra hassle.
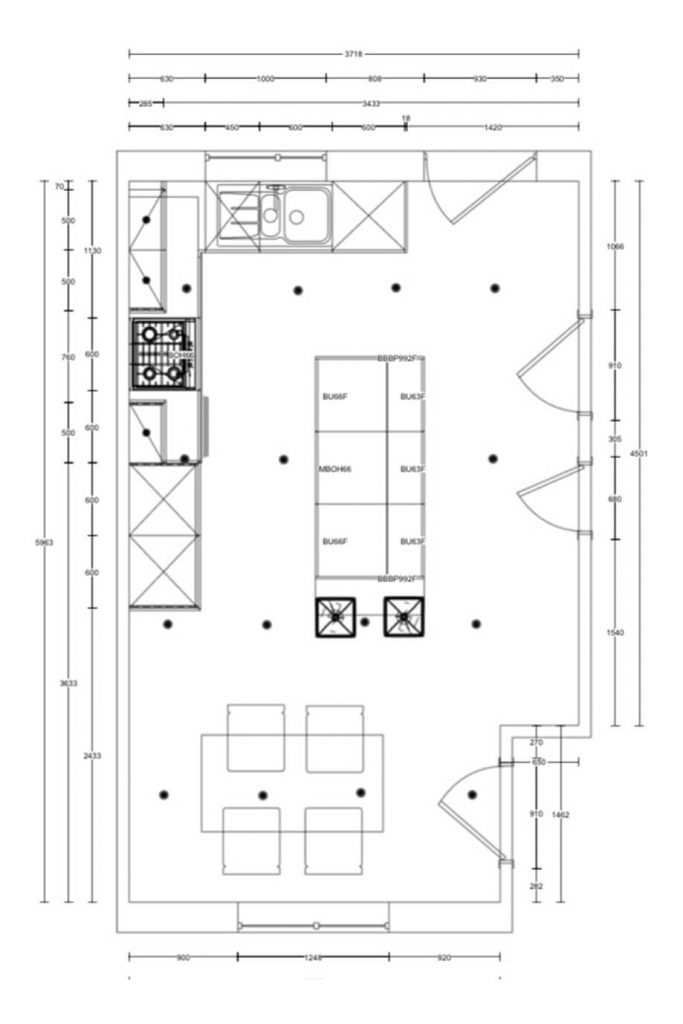
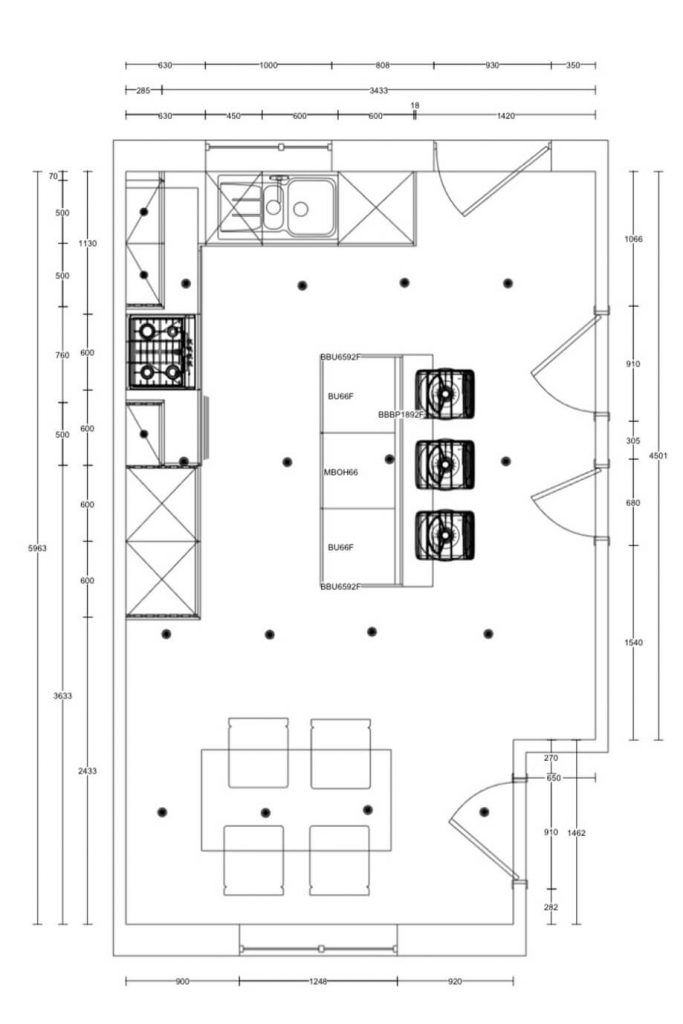
So moving on from that idea, we played around with a maximum storage design. This design had storage on both the front and the back of the island. Deep storage one side, with a shallower cupboard on the other. The overhang then moved down to the short edge and provided enough seating for two.
This was a great option for optimum storage, but i had concerns. With the seating down the same end of the room as the dining table; i worried that it would feel too congested, and look messy.
After that, we settled on the island having just the one side of storage; the other side would be the barstools. Next, we just needed to decide on what size cupboards and drawers we wanted. This we would work out at the showroom meeting.
Showroom meeting
We booked a meeting with the showroom manager, and were shown some islands the same size as ours. It looked so much bigger in real life – so that was exciting! Some had large cupboards with smaller drawers; others had slightly smaller cupboards with larger drawers. Or, there was one with all drawers; no cupboards at all.
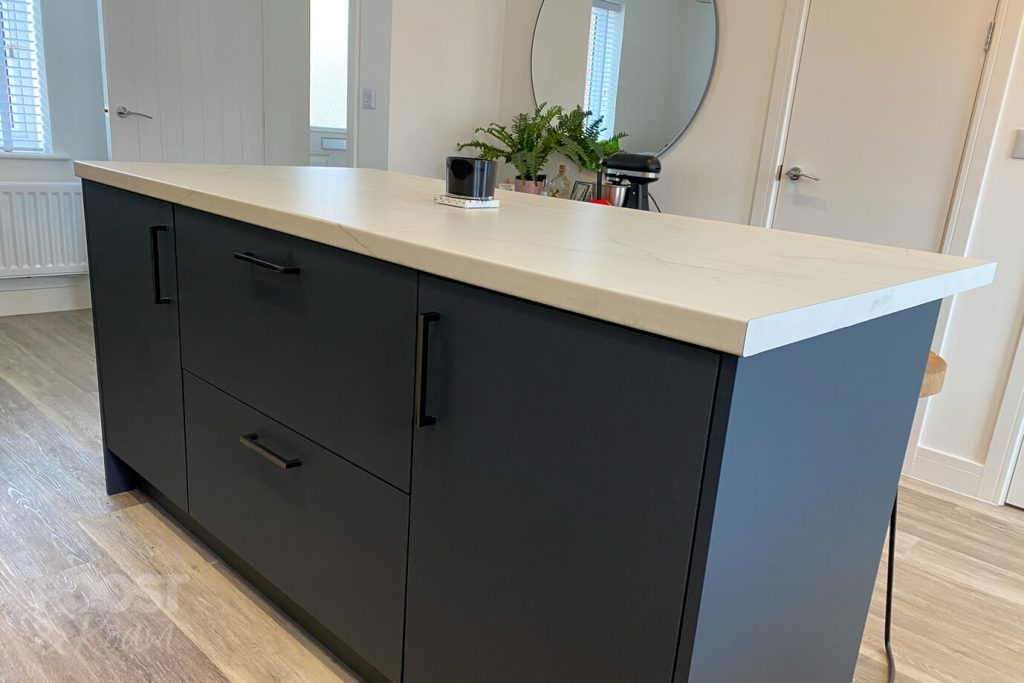
I loved the look of the island with just drawers, but decided it wouldn’t be the most practical for storing taller things. Items like; boxes of cereal, and bottles of squash. In the end, we decided on two 500mm cupboards, with a deep 800mm double drawer in the middle. Perfect for holding our crockery in one, and all our pots and & pans in the other.
Our island Measurements
Our island consisted of 2x500mm cupboards, and 1x800mm drawer, making it approx 1.8 meters long in total. The depth of the cupboards/drawers is 600mm, plus we had an overhang of 300mm; so you can sit & tuck a barstool under. Giving the island a total depth of 900mm.
How expensive was it?
We’re so glad that we couldn’t sort this through our house developers; It was much cheaper to sort ourselves with Bradfords. A 500mm base unit through our development was £314, whereas the exact same base unit through Bradfords was only £94.69, so it saved us a lot of money! Our quote for the island, worktop & handles came in just a smidge over £1000. Luckily, we had a family trade discount, which brought it down to £963. It would have been about £300 cheaper if we had three cupboards, but i’m so glad that we spent the extra to get the drawers; we love them!
We actually ended up getting it for about £400 – i’ll get to that in a bit!
Delivery
We only had a two week lead time on our island. So, once we had exchanged on the house, we booked delivery for 2 weeks after we were due to complete – just incase of a delay. Plus, we had to get the floor fitters in first; something else we booked and sorted ourselves to save money!
Our island arrived on time, but unfortunately we had a couple issues. One corner of the worktop arrived badly damaged, but worse than that, they sent the wrong colour island; it was plain white.
I called Bradfords explaining what had happened; they were straight on the ball to sort this for us! The correct – Indigo blue island was delivered a week later. They were brilliant and sorted the issue straight away for us, which we were so grateful for. Now i mentioned earlier, that we got the island for about £400. Well, Bradfords said we could keep/dispose of the white island as they weren’t going to collect it. So, we sold it! Meaning we only really paid out about £400 in the end for ours!
How easy is it to build yourself?
James had the fun job of putting it together! Obviously you could pay a kitchen fitter to do this part for you, but we (James) wanted to give it a go himself. The base units arrived assembled; you have to fix them all together, and get them level. Along with getting them the same height as the other base units which are fixed to the wall.
We then fixed the worktop to the base units. I’m not sure if this is the correct order, or if you should do the sides first? But it worked.
Once that was done, he had to measure and cut the back and side panels to size. He did this by clamping down a spare bit of wood onto the panels; creating a guide for his circular saw. After that, he screwed them all together into a U shape; which we then pushed onto the island and secured in place. He then did the same for the kick plate at the front; clicking that onto the legs with the clips provided.
Finally, he had to drill holes into the doors to fit the handles. For this, he took the measurement from the other wall units so that spacing would all look uniform.
Overall, he said that it wasn’t anything tricky to do; a nice DIY project under his belt.
Spacing around the island
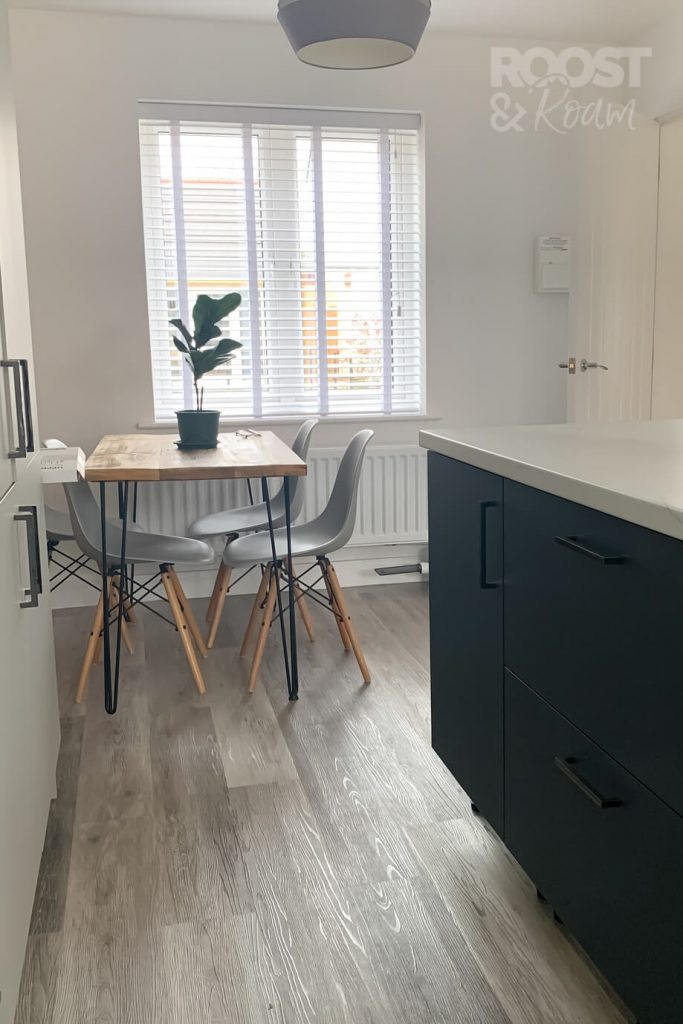
They recommend spacing around the island to be an absolute minimum of 80cm, otherwise it starts to become a bit of a pinch. We set ours up with a 90cm gap from the wall units; it feels perfect, there is plenty of room to get around, and doesn’t feel tight when the cupboard or oven door is open.
Island dreams come true
We are over the moon with our kitchen island. We use it every single day, and it’s given our home a practical family kitchen that we can all enjoy.
If you enjoyed this post or found it helpful, and you’d like to show some love & support. You can now treat me to a cuppa on the link below, thanks so much if you do!
